Tuesday, January 28, 2014

Murals, "Give Me Five" and a Giveaway!

I have always loved painting.  Pre-kids, I painted on canvas and tried to capture Matisse and other amazing artists.  Once my kids came, I turned my passion into painting pictures and murals in my house.  We have a space between our kitchen and living room with a small area of "teachable" walls on each side of the hall. 
 
We painted each side of the hall with two layers of magnetic paint.  (We used "Magnamagic Magnetic Receptive Wall Paint" three years ago and it is still going strong.  I have no affiliation with them, I just really like the paint!)  Then, we painted the white paint over top.  I use one side of the hall as a magnetic white board and on the other side of the hall I painted a coconut tree.  Great for playing "Chicka Chicka Boom Boom" and all kinds of things.
In these pictures, we used "Molly the Monster" and her magic wands.  We chose a letter wand out of Molly's mouth and then found the sight word or name that begins with the same letter.
 Such fun!  The magic wands are just tongue depressors with letter stickers on them.  You can have students find words that begin with each letter, or have them use the letter sticks to build sight words or CVC words.  So much more fun than just writing them! 

Here are a few other sticks that I found laying around.  I have used these as "focus wands" where students search the room for specific things.  I have also used them as "reading sticks".  Students can use them to follow each word while reading.  They can also be used as spacers, when students are learning to write.  They are versatile and kids seem to love anything that has a little "flair" to it!  Everything pictured below was either a foam sticker, felt, or plastic decoration.  You can really use anything you have lying around.
While I am sharing wands, I have to share my absolute favorite "focus wand"!  I love these hand wands.  They are made by hot gluing two foam hands to a tongue depressor.  You can use them with or without a hole in the middle.  I prefer the hole, because it allows students to frame and focus in on whatever they are finding. 
 
I really love the hands, because unlike fly swatters or other wands where you are swatting or hitting the letters, words, etc., with the hands kids will give a "high five".  It takes away the negative connotation of hitting and replaces it with the positive experience of giving a "high five".  Kids love it, because they are using a fake hand to give "high fives".   I  love it, because in my experience kids tend to be a little less rough toward each other when giving "high fives".

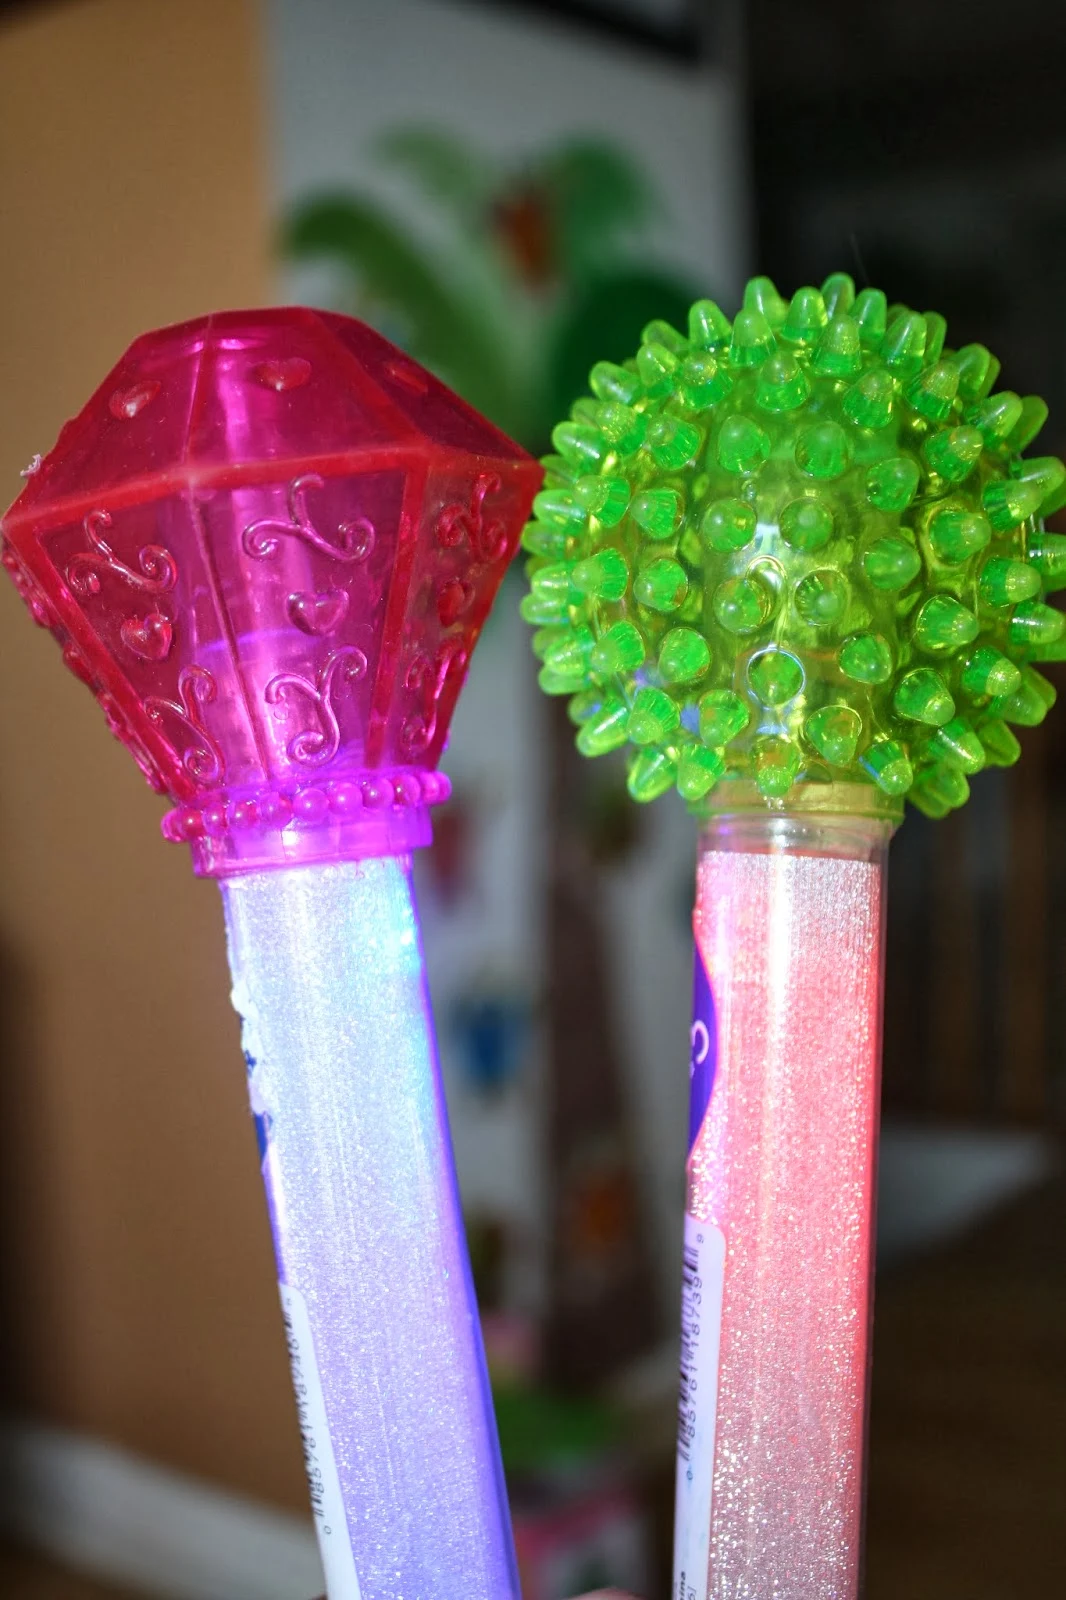
Below are a few other "focus wands" that I use and kids seem to love them.  There are colorful fly swatters, sparkly light up wands (I got them from Target or Toys R Us), homemade fly swatters (I made these once in the winter, when the stores did not stock fly swatters), and colorful flower wands (from the dollar store).  As you can see, I love to cut the holes in my wands.  It is especially helpful for kids who have difficulty focusing.
 
Thanks for looking at my collection (obsession) with focus wands.  As you can tell, I find them very useful and fun.  My husband does not feel the same way :)  He calls them "my junk".
 
This week Kelly, from My Fabulous Class, is hosting an awesome Valentine's giveaway!  You can win my "Put Your Stamp On It" literacy pack and a bunch of other awesome prizes.  You do not want to miss this!!!  While you are there, check out her fabulous blog.  She has tons of useful and fun ideas.  Plus, she is just fabulous!
http://myfabulousclass.blogspot.com/
 Have a terrific Tuesday!

Sunday, January 26, 2014

I Love Scavenger Hunts + Freebies!

I just had someone ask me why I duplicate so many products with different themes.  This is a great question!!

I actually have two specific reasons.  First, has to do with the Alphabet Scavenger Hunts.  I have tons of these games, with exactly the same recording sheets and format, but with different themes.  I have so many, because I use them with my preschool-aged daughter.  I have been teaching her upper and lowercase letters for the past year.  I have actually used all the differentiated recording sheets with her, as she grows.  Since she is just beginning to learn her letters, she needs tons of practice and absolutely LOVES the scavenger hunts.  I make new ones all the time, so she doesn't get bored with the activity.  So far, she still loves playing the scavenger hunts and has learned all her letters.  We use the letters to play memory, build her name,  and she puts all the letters in order on the floor to make an alphabet "road".  The alphabet road is shown below.  She hops, walks slowly, and runs down the "alphabet road".  We play music and when the music stops, she identifies the letter in the space where she stopped.

The other reason that I make many of the same games/centers with different themes is that I work with and have worked with many struggling students, both in special and regular education.  These students need a lot of practice learning the same skills.  Many of the students that I work with, and have worked with, perform better when they become comfortable with an activity in a particular format.  I like to make the same games with different themes to provide them with the same format, but change the pictures to keep them from becoming bored.  They feel like they have a "new" game, but with the stability of a similar format. 

I have three new scavenger hunt games that are for the coming months.  There is a "Presidential Scavenger Hunt" for President's day.  Students can use clipboards and search the room for upper or lowercase letters.
I love giving the kids "focus wands" to find the letters.  I included FREE focus wands for each of the scavenger hunts at the end of this post.
There is also a "St. Patrick's Day Scavenger Hunt".  I choose specific letters to use for a memory game.  We play memory and match upper and lowercase letters.
My daughter's favorite set, so far, is the "Bumblebee Scavenger Hunt".  Sometimes we build the "alphabet road" with uppercase letters and then match the lowercase letters. 
A very sweet preschooler came up with "driving down the alphabet road".  We put the lowercase letters in a pile and draw a card.  The student will identify the lowercase letter and "drive" their car to the matching uppercase letter.  This game can be differentiated.  You can print two sets of uppercase letters and students will "drive" to the matching letter.
We use the scavenger hunt cards to learn to spell names,
and to spell sight words.
Now, for your freebie!  Here are the "focus wands" for bees, St. Patrick's day, and for President's day.  You can use these wands for anything.  You don't need my scavenger hunts to use them :)  Students just seem to love holding wands and it really helps to focus their attention.  Click on the picture to get your FREE "focus wands"!
https://drive.google.com/file/d/0Bzdf4OqBvDfcQ3BJekY1bk9EUzQ/edit?usp=sharing
Have a wonderful week!


Saturday, January 25, 2014

Put Your Stamp On It!

Here is a little taste of a larger set of Valentine centers and printables.  "Put Your Stamp On It".  It's a really fun way to practice matching numerals, ten frames, and number words.  You can differentiate for your students' needs!
I had some requests for a literacy version of "Put Your Stamp On It!".  I didn't want to disappoint :)  I now have a literacy version that focuses on beginning sounds, ending sounds, and decoding CVC words.  I hope that your kids love this one, too!
http://www.teacherspayteachers.com/Product/Valentines-Put-Your-Stamp-On-It-Literacy-Centers-Games-and-Printables-1077392
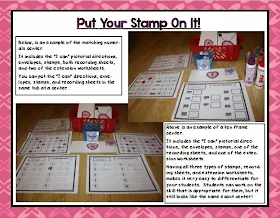
Here is an example of the ending sound version.  Students will say the sound, listen for the ending sound, and then find the matching stamp.  After matching up all of the stamps, students will complete the recording sheet and "stamp" their ending sounds.  I love using stamps with the kids.  Stamps always seem to make everything more fun!
 I also included extension worksheets that you can use with the center or separately.  Students can use bingo dabbers or color in the letter.  In the examples below, students identified ending and beginning sounds. 
 This product will be part of a giveaway coming soon on a wonderful blog, My Fabulous Class.  If you can't wait, then it is on sale for the next 24 hours :)
http://www.teacherspayteachers.com/Product/Valentines-Put-Your-Stamp-On-It-Literacy-Centers-Games-and-Printables-1077392
 You can also pick up Valentine Vowels here.
http://www.teacherspayteachers.com/Product/Valentine-Vowels-CVC-Words-Medial-Vowel-Sounds-Center-Printables-1103033

Friday, January 24, 2014

Be My Valentine!

We have a while until Valentine's Day, but I have been working feverishly to make some Valentine goodies.  I love Valentines day, not only for the candy, but I love letters! 

Since I was a kid, I have always loved sending and receiving letters in the mail.  I wanted to make a set of centers that was focused on letters, envelopes, and stamps.  I tested these games with my own kids and students that I tutor.  They were a huge hit! 

I will leave them on sale for 50% off for the next 48 hours.
http://www.teacherspayteachers.com/Product/Differentiated-Valentines-Day-Math-Centers-Games-and-Printables-1076895
Non-standard measurement center with Valentine themed pictures.
 Addition center.  Practice addition fact families.
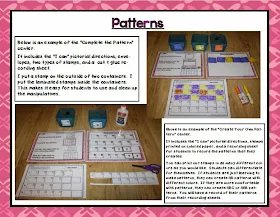
 Patterning center.
 Center to practice counting and cardinality.
This center includes: matching numerals, number words, and ten frames.  You can get the "Put Your Stamp On It: Math Center" as part of the BIG bundle, or you can buy it separately here.
You can pick up a HUGE Valentine bundle here!

Tuesday, January 21, 2014

I Love The Hardware Store!

 
 Years ago, I needed to find a simple contraption that would turn into an addition machine.  I was a special education resource teacher and all my teaching supplies had to fit on a cart or a rolling suitcase.  I hit the hardware store.  Apparently, I chose a P trap with a cleanout spout. 
 
I had used these same p traps before, but I used them for whisper phones.  You can find the perfect size for kids and adults.  The beauty of these p traps is that you do not have to do any prep for them to work!

The "Addition Machine" p drain has a very easy to use drain at the bottom.  My three year old is able to open it.  I added an addition sign to the middle of the machine, so it gives a visual that you are adding both sides of the adding machine.
 
To make this work, you need 3 small containers and something to prop the "Addition Machine" up against.  I used a small stool from IKEA.  It is exactly the right size to fit my "Addition Machine".
 
 To prep the "Addition Machine", you need a dry erase marker and some small manipulatives.  I have used pom poms, marbles, and any small little things that I find around the house. 
First, you write two numbers, with your dry erase marker, on each of the top two containers.  On the bottom container, you will write an equal sign.
 
Students will count out the correct number of manipulative and put them in each of the top two containers.  We always counted out loud and examined the two sets of manipulatives before moving on to the next step.
 
After putting the manipulatives in the containers, I had a student pour each container into the "Addition Machine".  We stated the addition sentence, as we went through the process.  The addition sentence, in this case"2+4", is the magic password that gets our "Addition Machine" to work!
 
 The magic is starting to work!
 
After all of the manipulative are poured into the "Addition Machine", we say the magic sentence "2+4" again and this time open up the drain.  All the kids seem to hold their breath, as the manipulatives pour from the "Addition Machine".
Before we recite the entire addition sentence, "2+4=6", we pass around the lower container to see the magic that has happened.  Each set of manipulatives from the containers has mixed together to form the whole!!!  It never ceases to amaze!  This activity is great for a concrete way to examine Part-Part-Whole.
 
 After we all examine the manipulatives and count how many there are in all, a student will write the sum on the lower container.  Then, we are able to recite the whole addition sentence: 2+4-6. 
 
I've had kids want to do this activity over and over, not even realizing that they are practicing addition.  Such fun and it really helps those kids that need the hands on, concrete learning. 
Hope this can help you, as much as it has helped me!  Don't forget the p drains, without a cleanout spout can be used for ready made "whisper phones".  Buy and use.  My kind of materials :)
I also linked up with The Preschool and Kindergarten Community. Be sure to check there for tons of great ideas!

Follow on Bloglovin