Friday, January 30, 2015

Stop, Swap, & Roll + GIVEAWAY!!

I've joined up with the wonderful Melissa, author of Jungle Learners, for another "Stop, Swap, & Roll"!!  These swaps are my absolute favorite!  You get to try out ideas from such amazing teachers AND it always gets my creativity flowing, too!
 http://junglelearners.blogspot.com/2015/01/stop-swap-roll-with-giveaway.html
This time around, I got to partner up with Melissa!!  She is such a creative teacher and so much fun!  You need to check out Melissa's blog and store.  You will not be disappointed!!
 http://junglelearners.blogspot.com/2015/01/stop-swap-roll-with-giveaway.html
I got to try out TWO fabulous packs.  I absolutely love Melissa's "Read it, Bead it, Type it, Wipe it" series.  What kid doesn't love beads??  You can get these centers for every single Dolch sight word list.  Kids of all abilities can enjoy this activity, while working at their specific level.
https://www.teacherspayteachers.com/Product/Read-it-Bead-it-Type-it-Wipe-it-Pre-Primer-Sight-Word-Edition-1440272
 I chose to work with the Pre-Primer Edition.  This was absolutely perfect for my daughter.  Before introducing her to the activity, I told her that she was going to need to be a word detective.  We got out her detective glasses (from the dollar store) and got ready to decipher the codes!
 
She drew a card from the pile and we got started.  I explained to her that she would be identifying the beginning sound for each picture.  She would identify the picture, sound out the beginning sound, and write that letter on the iPad.  After she wrote down all the beginning sounds, she would identify the sight word.
The fun was just beginning!  She used beads to spell out the word.  This was definitely a hit!
 Typing out the sight words was engaging and fun, too!
Melissa provides you with a card for each sight word on the Pre-Primer Dolch list.  There are 4 different boards to choose from depending on what you'd prefer for your students. Just print them out and either laminate them or place in a write and wipe pocket folder.  I chose to laminate the boards, because it made for an easy & reusable center.
There are also 4 different recording sheets that can be used for your students to keep track of the words they have completed.
These activities are SO much fun!!!  The real seal of approval for this activity came when my daughter told her friends that they had to come over and play the "best.game.ever".  They chose to play with words, over playing Doc McStuffins.  Now, that is something...

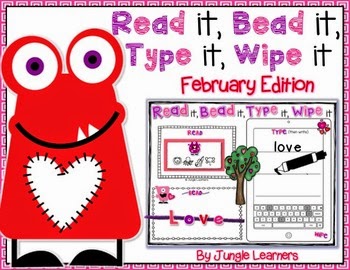
I have one more "Read it, Bead it, Type it, Wipe it" game to share.  This one is a pack of themed words for February.  My son got in on this one.  He loved trying to guess the word, before he got to the third letter.  He got pretty good at it!
https://www.teacherspayteachers.com/Product/Read-it-Bead-it-Type-it-Wipe-it-February-Edition-1650197
I have to tell you that I adore the little monsters on this pack.  They made me smile every time I pulled them out :)  You use this product just like the sight word version.  The only difference is thematic words, instead of sight words.
 I played up the fact that the kids were detectives and were the only people who were able to "crack the code".  It brought mystery to the activity and definitely kept them engaged.
 This pack has 4 different recording sheets.  I love the monsters!!
 This allows you to keep students accountable for their work and helps them keep track of the words that they have already completed.
Thanks so much for stopping by to check out Melissa's amazing centers!  I know your kids will love them as much as mine did!  You can scoop up any of Melissa's "Read it, Bead it, Type it, Wipe it" series for 20% until Tuesday 2/3/15!  You can also enter the rafflecopter to win a copy of the Pre-Primer Edition & The February Edition!
Follow on Bloglovin

You will also want to check out Melissa's post to check out one of my Interactive Play Dough Packs.  She will be giving a copy away to one lucky winner.  You can pick up any or all of my Interactive Play Dough Mats for 20% off from my TPT store.  For this week only, I have a super steal on Educents!  You can get all of my play dough packs for 50% off!!  You will be getting 9 packs for only $18!
Don't have an account on Educents?  No problem!  You can sign up for an account here and get $10 FREE!!
 
Thanks so much for joining me for the Stop, Swap & Roll!

Sunday, January 18, 2015

2 Valentine's Day Giveaways!


I had to share this AMAZING giveaway from ZipADeeDooDah!!  It's a Mega Haul of awesome Valentine's Day manipulatives, and fun!!
https://www.facebook.com/ZipADeeDooDahDesign?sk=app_228910107186452
Click here to enter this awesome giveaway!  I'm also going to giveaway a Valentine's Bundle for your kids, too! 
Follow on Bloglovin
a Rafflecopter giveaway

Friday, January 16, 2015

Interactive Play Dough Mats: Bubbles!

 
http://www.teacherspayteachers.com/Product/Interactive-Play-Dough-Mats-Counting-Centers-Games-Printables-Bubbles-1652752
Kids love working with play dough!  It makes practice with any skill turn into a game!  I have a bunch of different themed play dough packs, but my daughter requested a set of bubble play dough mats.  I decided on a bubble bath pack!  You pick it up here.
 
There are two components to each set of centers:
Interactive Play Dough Mats
Students will draw cards with numerals, ten frames, or addition sentences. Students will create play dough on their mat to represent the numeral, numbers on the ten frame or addition sentence. Students will complete an extension worksheet after using this center. Extension worksheets include: counting and writing the numeral, drawing the correct number of themed objects when give a number, drawing the correct number of themed objects when given a ten frame.
 
Use manipulatives, dry erase markers, or play dough to represent the numerals, ten frames, or addition sentences.
Ten Frames and Numerals 
Addition Skills
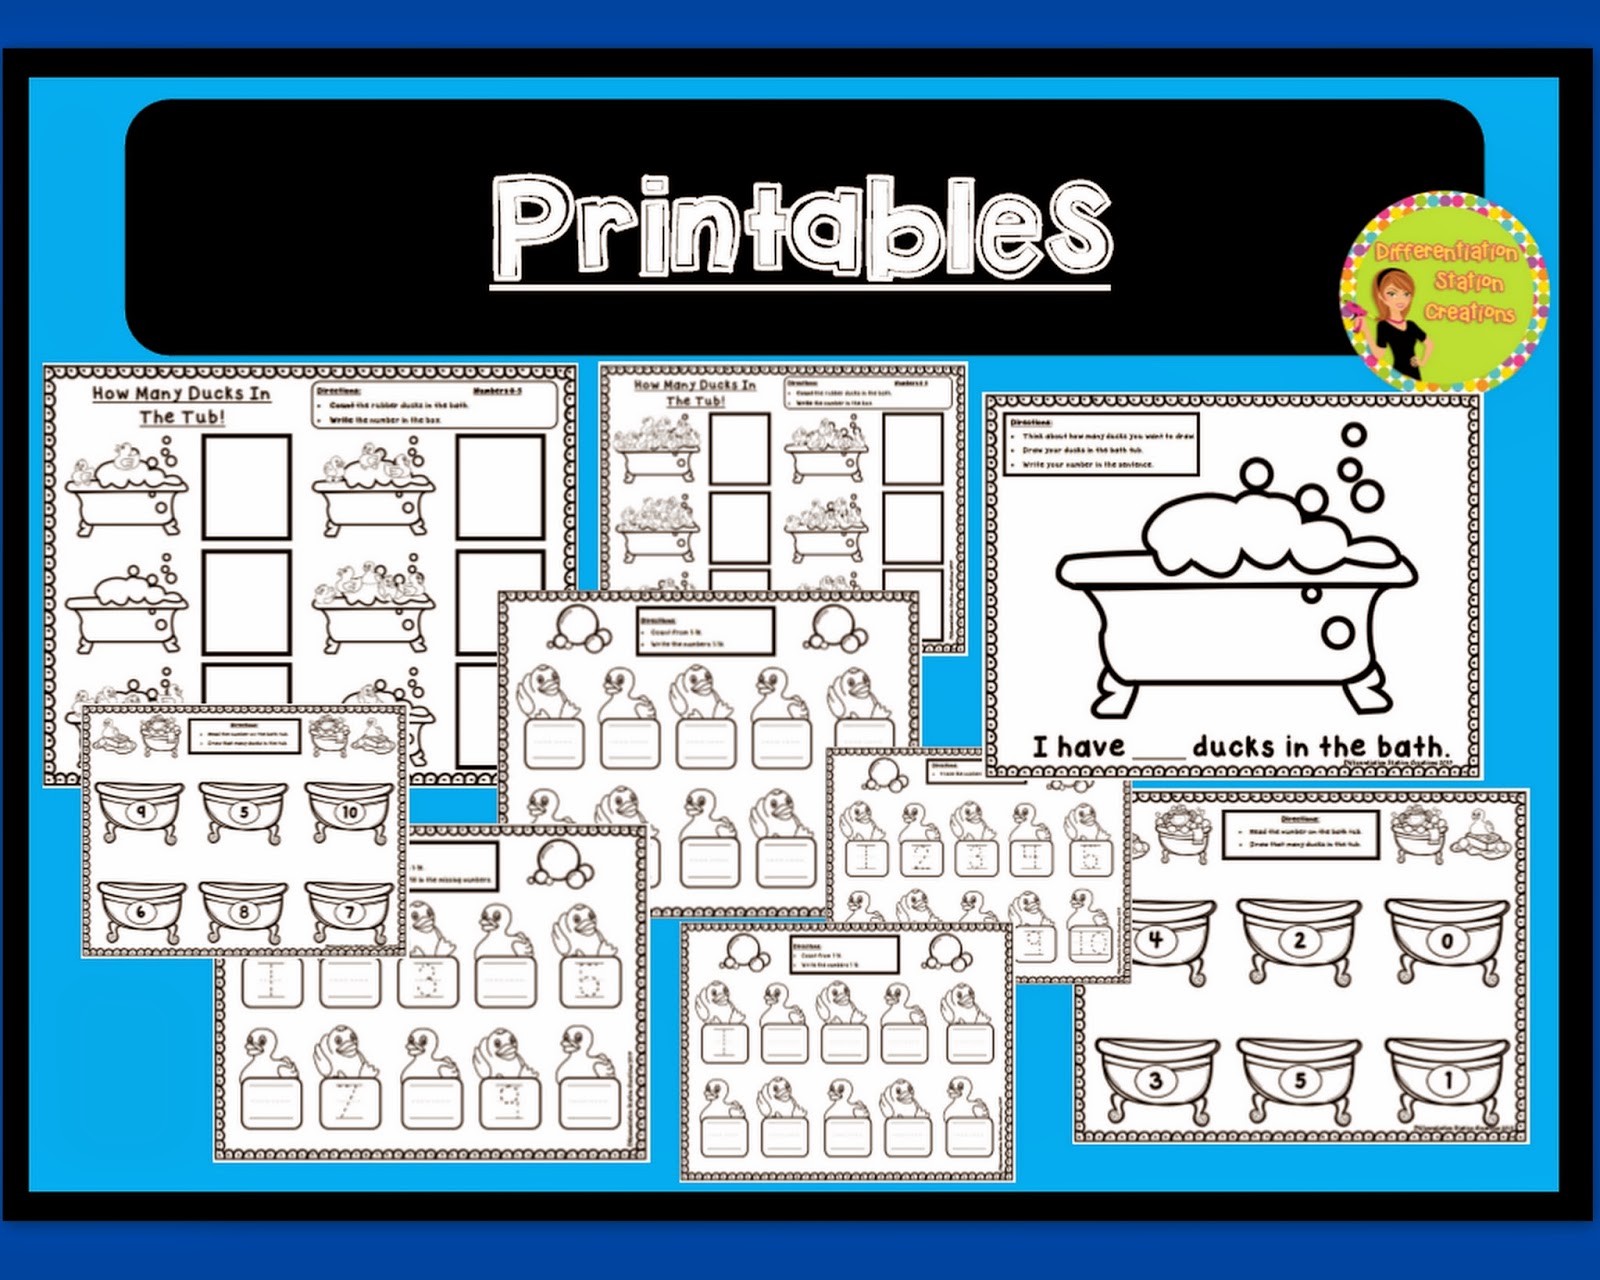
There are bunches of prinatbles that can be used in a center, or as an extension activity.  The printables will reinforce the skills that students practice with the play dough mats.
http://www.teacherspayteachers.com/Product/Interactive-Play-Dough-Mats-Counting-Centers-Games-Printables-Bubbles-1652752


Interactive Play Dough Mats with Numerals
Students will identify numerals and add the correct number of themed manipulatives, or use play dough. Complete extension activities in representing a number of objects with a written numeral, use one-to-one correspondence to count out a specific number of objects and draw a pictorial representation of those objects, and trace and write numerals 1-10.

Use manipulatives to trace the numerals.  Students will count out the same number of ducks.
 Students can use a dry erase marker to trace the numeral. 
 Students can count out the duck manipulatives to represent the number.
 Students can use play dough to create the numeral.  This is great for tactile and kinesthetic learners.  They can build the numeral and trace the numeral.  
Students can also use play dough to create the same number of ducks or bubbles.
 There are tons of printables to extend their learning!
http://www.teacherspayteachers.com/Product/Interactive-Play-Dough-Mats-Counting-Centers-Games-Printables-Bubbles-1652752
Tons of fun!
Have the students color in the ducks, as they count each one.  This will help with one-to-one correspondence.
 A bunch of choices for tracing and writing numerals 1-10.
Hope you enjoy this pack!  I am giving one away tomorrow morning.  You can leave a comment here for a chance to win!  Have a great weekend!  You can pick up the pack, here, for 50% off for the next 48 hours.

Follow on Bloglovin

Thursday, January 8, 2015

DIY Pizza Oven

We have been on a pizza kick at my house.  My kids are crazy for pizza of any sort, so we extended our pizza exploration into other areas.  We created a DIY Magnetic Pizza Manipulative that we use for subitizing, addition, and patterning.  I am currently working on a set to use for repeated addition. It is such a fun and easy way to play with your food!  You can see the DIY directions here.
http://theprimarypack.blogspot.com/2015/01/diy-pizza-math-manipulative-subitizing.html
 You can get the Pizza pack here.
 This is another pizza pack with thematic dot cards and ten frames.
We had received a package with a huge box in the mail and decided to turn it into a pizza oven.  My kids were ecstatic to be able to make and use their own brick pizza oven.  Our house turned into a gourmet pizza restaurant.

All you need to create this pizza oven is:
-  One large box
- One smaller box to hot glue inside and create the oven.
- Additional cardboard
- Aluminum foil
- Duct tape
-  Construction paper
- Hot glue
- A hook for your pizza paddle
First, you will cut a rectangular hole in the front of the large box.  This will be your opening to the oven.  Only cut three sides of the rectangle, because it will still be attached at the bottom.  This will allow the front of the oven to open and close.
You will create a box inside the box to create the oven.  ***UPDATE*** After lots of use, this particular design failed. Instead of creating a box, just use a small box. It is sturdier and easier to attach. Hot glue (use a lot) the smaller box to the inside of the pizza oven and tape it with metal duct tape. This creates a very sturdy inside to your pizza oven. I will post pictures of this soon.
 Use duct tape to attach the cardboard to the inside of the box.  You will attach it to the large box on all sides of the box.
 Cut the two sides of the box about 2 inches longer. 
 Fold the edges of the box over and affix with tape.
 Here is the completed inside of your oven.
Next, you will create the front of the oven.  Cut a half circle to attach to the rectangular opening.
 Create a handle by cutting two small lines with a razor blade.
 Fold the two edges of the handle and insert through the holes.  Leave about 1-2 inches to fold over on the back.
Fold the edges of the handles over on the back of the drawer.
 Tape the handles down on the back of the drawer.
 You created a handle!
 To make the outside of the oven, attach the half circle to the rectangular opening.  I covered it in duct tape for a more durable oven.
Cover the outside of the drawer with duct tape.
 Cut out white construction paper to make the white background surrounding your oven.
 I rounded the rectangles of the edges.
 I cut out rounded rectangles for the logs and drew lines down the middle with a Sharpee.
 The flames are made with red, orange and yellow construction paper.  I traced the red flame onto the orange paper and made it about 1/2 inch smaller.  I traced the orange flame to create the yellow flame, by cutting it about 1 1/2 inch smaller.
I added packaging from laser toner to the top of my oven for decoration.
 To make a pizza paddle, cut out a rounded rectangular shape with a handle.
 I cut out another rectangle to affix to the pizza paddle.  This strengthens the handle for more use.  ***UPDATE*** With lots of love and use, this pizza paddle got a little ratty. So I just covered the entire pizza paddle with duct tape. This looks cool and makes it very sturdy!
 I used a 3M adhesive hook to attach to the oven.
 Use play food or make your own pizzas out of paper to use in your oven.
 Have a pizza party in your home or class!  I hope your kids love it, too!
Follow on Bloglovin
Leave me a comment to know what you think!  I love hearing from you!

I linked up with 4th Grade Frolics: Monday Made It!
http://4thgradefrolics.blogspot.com/search?updated-min=2015-01-01T00:00:00-05:00&updated-max=2016-01-01T00:00:00-05:00&max-results=4


Pin It