
I blogged over at The Primary Pack today with some other DIY turkey ideas and with some ways to use them. You can see the directions to make a turkey out of a Cascade container here. Get the directions to make the Print & Cut turkey here.


You can pass out cards to the whole group, or use the turkey in a center. Kids will feed the turkey!


Here are the directions to create the plastic bucket turkey.
You will need:
- Plastic bucket (I got mine from the Dollar Store)
- Foam or card stock
- Felt to cover the turkey's body
- Hot glue
- Magnet
- Tape
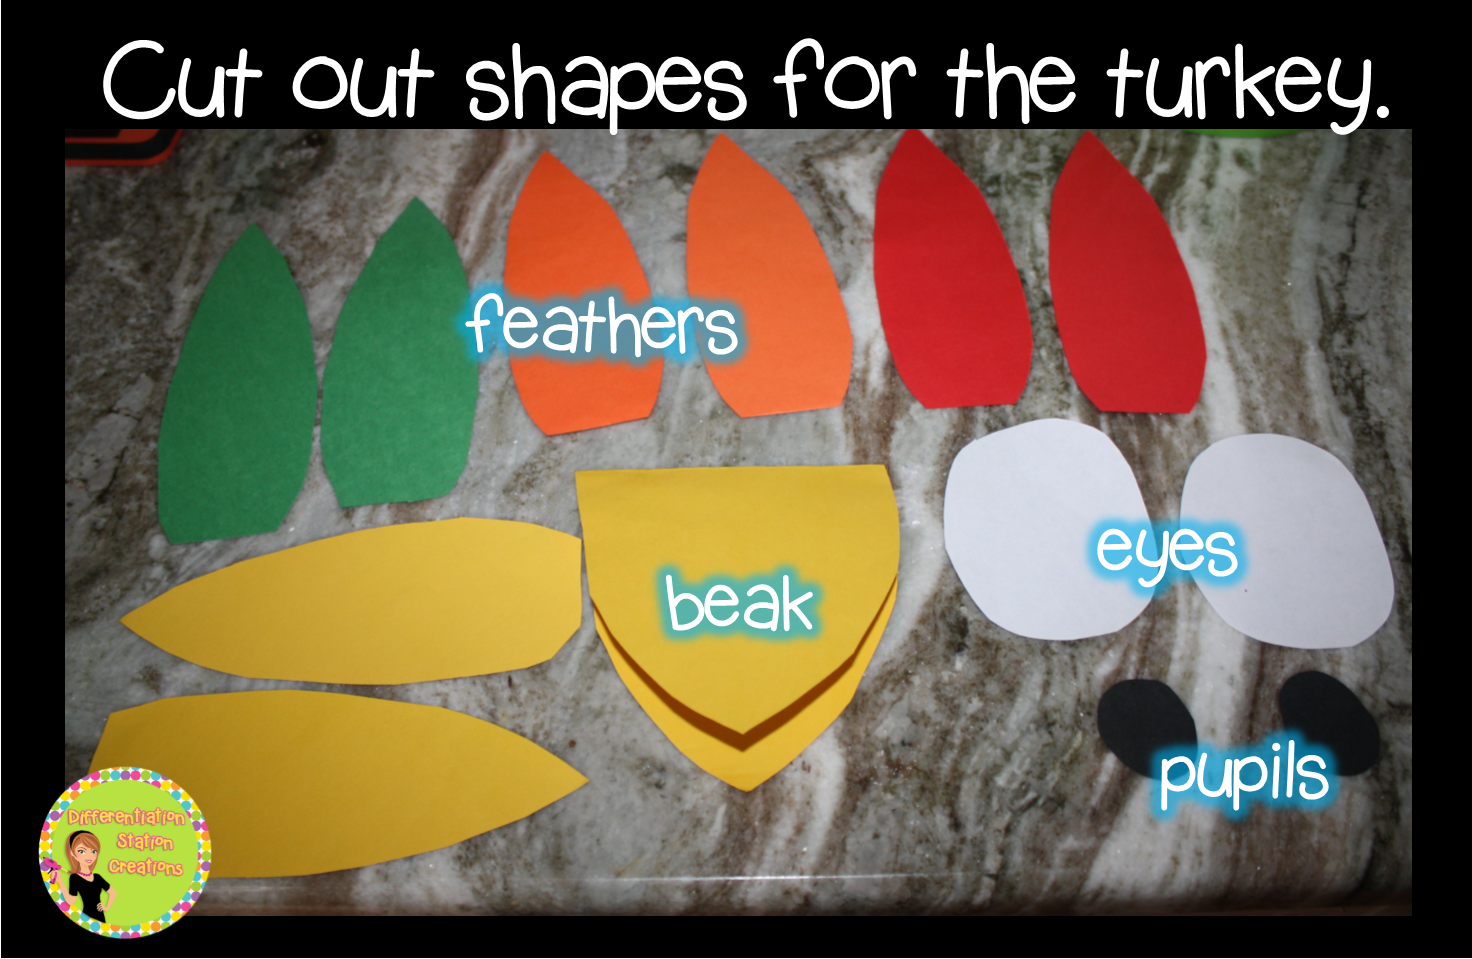
Cut out the beak and fold it in half.


Thanks for stopping by! Don't forget to head over to The Primary Pack to see more ideas on how to use the turkey!
Head over to my TPT store to get my "Turkey Time" pack. It will be 50% off for the rest of this week for Kelly and Kim's Markdown Monday. Check out their blog for this week's deals!


