
Space is irresistible to many children. The idea of a place that is just out of reach and alien to our way of life here is fascinating. Imagine a place where you float, instead of walk. Where stars shine bright and they can explore places where no one has ever been before. This is a world of wonder for many children and adults. Bring concepts of space to life with hands-on activities and props. Allow children to use their imaginations to explore beyond the boundaries of our world!

One of the most engaging ideas of space, for my children, is the idea that people would float or fly. Rockets and space ships are engaging and fun! We created a "Rocket Blaster Pack" out of Pringles cans. This can be used for dramatic play, or for gearing up as your astronauts set out on their own missions! It was easy to create and is sure to be a favorite of your space explorers. You can get the DIY directions here.

Keeping with the space travel theme, I love the idea of using the rocket ship for different activities. I found an awesome post at Mrs. Karen's Presschool Ideas. She has fabulous ideas for a space unit and you should definitely check them out! I loved her rocket ship names and decided we needed to make our own!
These are very easy to differentiate. For this child, I cut out the shapes and wrote the letters for the name. He traced the letters and glued them on the page.

This child wrote her own name, and cut out some of the shapes. All the glue and glitter was done independently. Notice the glitter that literally coats the table :)

This child cut out squares that were traced onto the paper and completed the rest of the task independently.

You can provide as little or as much support as needed. We moved onto patterns, after names. You can use any pattern: AB, AAB, AABB, ABB. We used an AB pattern and the kids had a great time selecting the colors for their patterns.
You can differentiate by:
- Create the pattern on a model and have children glue the same colors on top of your pattern.
- Give the child the exact number of specific colors to create the pattern and provide a model.
- Give the child the exact number of specific colors with no model.
- Provide children with a rainbow of colors and let them create their own pattern.

The last set of rockets that we built was focused on counting. Students would build the rocket ship with the same number of squares as the numeral on the top. Students count and glue. You could provide a model for students to use for a reference, or to glue right on top of the model.

Here are some of our rocket creations! I love that you can use the same concept in so many different ways. The kids were engaged with every project.

I have a space write the room activity for the alphabet and for numbers to 20. It gets kids up and moving around the room, while practicing key skills in a fun, thematic way.


You can click on the pictures to purchase the packs!
Both the alphabet and math pack have differentiated recording sheets.
When children are searching the room for the numbers 0-20, they can record their findings in three different ways.
They can count and record the numeral,

record with tally marks,

or record by drawing circles in a ten frame(s).

Students can use a pencil or crayon, but I found that the little bingo dabbers worked perfectly and were so much more fun! These bingo dabbers were from the dollar store.
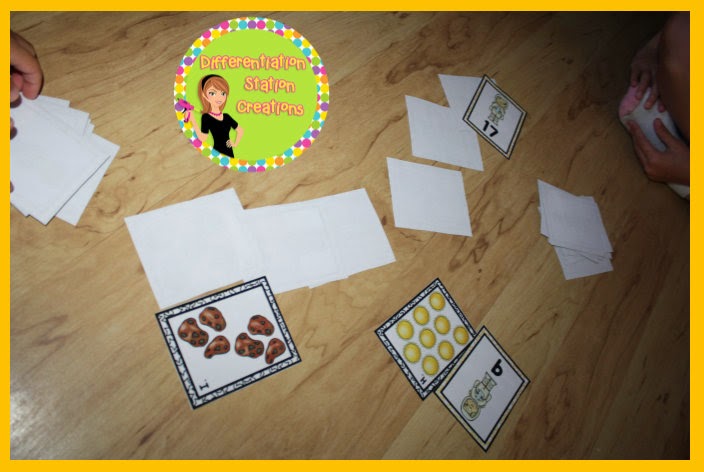
We also used the cards from the pack to play memory,

BAM! (this is just War with a space themed name). Great for working on greater and less than.

Here the kids got the same amount, so they had to use cards to spell out BAM!
I have one more really fun way to explore space and math concepts. This past year, I found the great song "Five Little Men in A Flying Saucer". It is a great song that teaches 'left' and 'right' and subtraction. Here is a version of it from Twinkl Primary Resources.
I created my own manipulative out of plastic plates and Little People, so that my kids could explore subtraction in a hands-on way. We listened to the song and acted out the story with the "Little Men". Get the DIY directions for the manipulative here.

Hope you found some great ideas to use with your space exploration! I would love to hear your ideas for playing in space!

I am linking up with Comprehension Connection for a Thematic Thursday linky!


